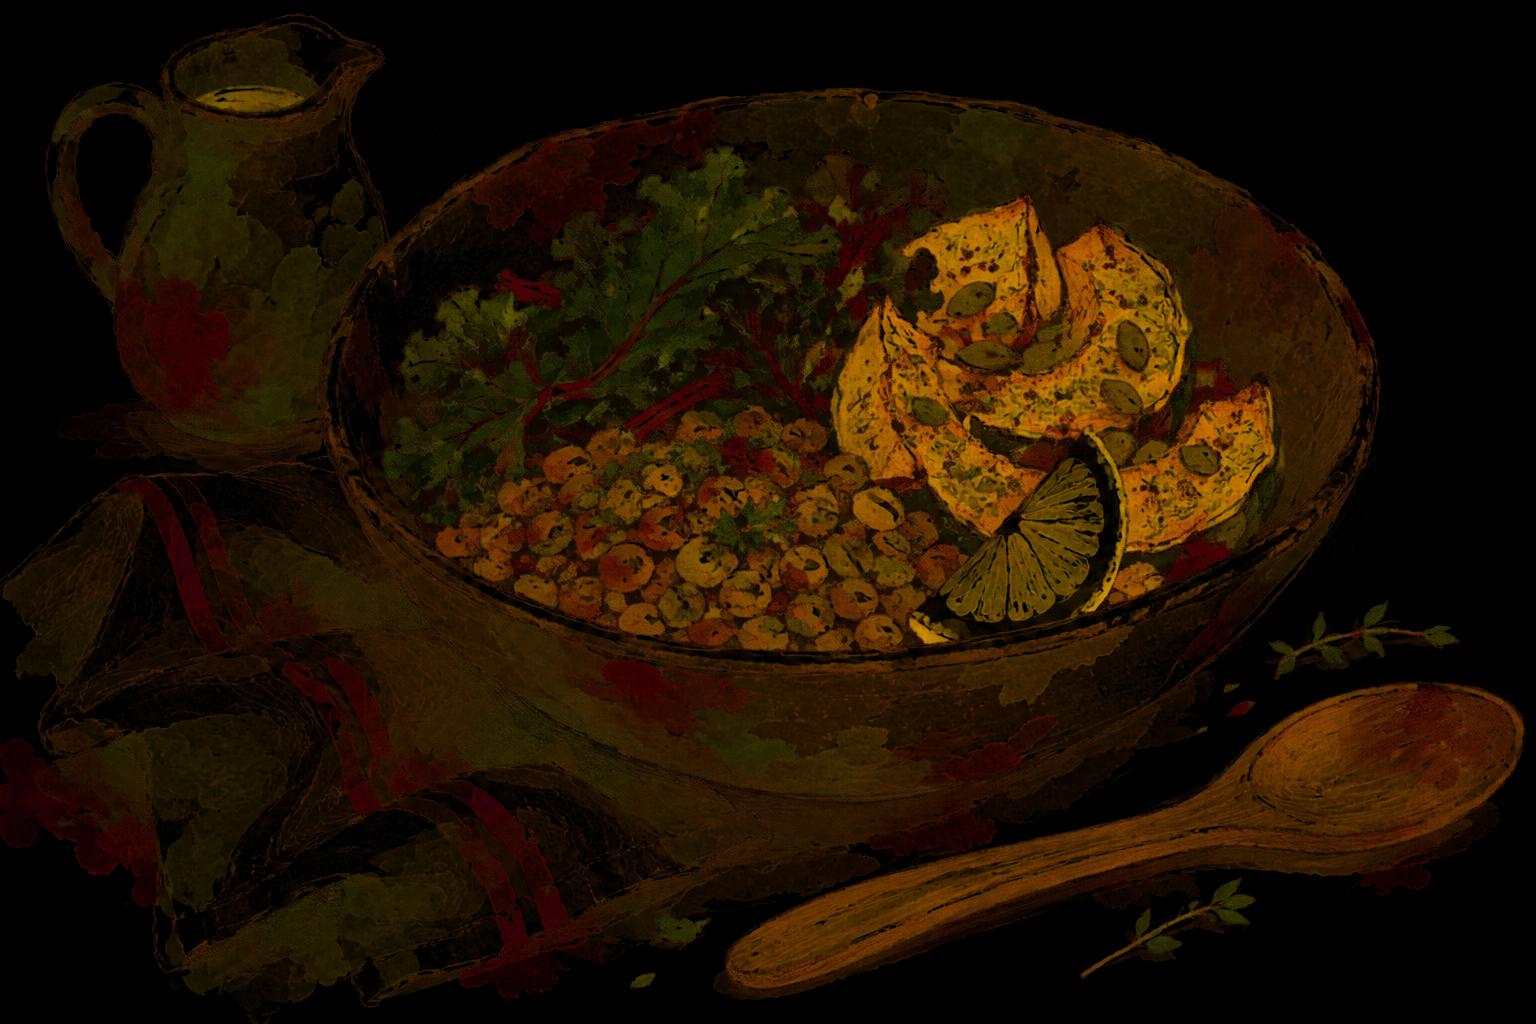
A good butternut squash soup needs one squash, an onion, a little garlic, some stock and a blender, and nothing else to hide behind: no cream, no butter, no sugar. Roast the squash first for a deeper, sweeter soup in about an hour, or simmer it on the stove for a lighter one in about forty minutes. Below is one master recipe with quantities, both routes, and the small finishing touches that decide whether it tastes of something or of nothing much.
I am a wellness coach, and I have eaten whole-food, plant-based for about thirty years, with no meat or dairy. In my book, Lifetime Body by Design, food is Right Feeding, the second petal of the Starflower, the method the book is built on. Soup sits close to the heart of that petal for me. It is the easiest way I know to eat more vegetables without thinking about it, and it means a squash that has sat on the counter for weeks becomes a week of lunches instead of compost. If you want the basics of handling the squash itself, I set those out in how to cook butternut squash.
Why this soup needs no cream
Many recipes reach for cream, butter or coconut milk, and the soup ends up tasting of the fat. Butternut squash does not need help. Cooked until it is completely soft and blended hard, it turns silky on its own, because the flesh is dense and smooth. What it does need is balance. Squash is sweet, so a good vegan butternut squash soup wants something savory underneath (onion cooked slowly, garlic, a little salt) and something sharp at the end (lemon or vinegar). Get those two right and nobody misses the cream.
For a richer or more filling bowl, see the variations below.
Roasted or stovetop: which route to take
Both routes make the same soup. They differ in flavor and time.
| Roasted butternut squash soup | Stovetop butternut squash soup | |
|---|---|---|
| How | Squash roasted in the oven, then simmered briefly | Squash peeled, cubed and simmered in the pot |
| Approximate time | 60 to 75 minutes | 35 to 45 minutes |
| Flavor | Deeper, sweeter, a little caramel at the edges | Lighter, fresher, more of the plain squash |
| Peeling | Not needed: scoop the flesh out after roasting | Needed: peel before cubing |
| Best for | A weekend pot, or when the oven is on anyway | A weeknight, or when the squash is hard to peel |
The roasted butternut squash soup has the deeper flavor. The stovetop version is the easy butternut squash soup for an ordinary Tuesday.
My master butternut squash soup recipe
This makes four to six bowls.
Ingredients
- 1 medium butternut squash, about 3 lb (1.4 kg)
- 1 tablespoon extra virgin olive oil, divided, or a splash of water
- 1 large onion, chopped
- 1 stick of celery or 1 carrot, chopped (optional)
- 3 cloves garlic, chopped
- 1 teaspoon fresh ginger, grated, or ½ teaspoon ground cumin
- A pinch of nutmeg or a few sage leaves
- 4 cups (about 1 liter) vegetable stock or water, plus more as needed
- Juice of half a lemon, or 1 to 2 teaspoons cider vinegar
- Salt and black pepper
The roasted route
- Heat the oven to 400°F (200°C). Cut the squash in half lengthwise and scoop out the seeds. Keep the seeds if you want to toast them for the top.
- Rub the cut faces with a few drops of olive oil, or skip the oil, and lay the halves cut side down on a tray lined with parchment. Add two or three unpeeled garlic cloves beside them if you like; they turn soft and sweet.
- Roast for 45 to 60 minutes, until a knife slides through the thickest part of the neck with no resistance. Times vary with the size of the squash and your oven.
- Meanwhile, cook the onion and celery or carrot gently in the rest of the oil, with a pinch of salt, in a large pot over medium heat for about ten minutes, until soft. Add a spoonful of water whenever the pan looks dry. Stir in the garlic and spice for the last minute.
- Scoop the roasted flesh out of the skin and into the pot. Squeeze in the roasted garlic. Add the stock, bring it to a simmer and cook for about ten minutes so the flavors join up.
The stovetop route
- Peel the squash with a sturdy vegetable peeler, cut it in half and scoop out the seeds, then cut the flesh into 1-inch (2.5 cm) cubes. You should have about 8 cups.
- Cook the onion and celery or carrot as above for about ten minutes, then the garlic and spice for a minute.
- Add the squash and stock. Bring it to a boil, then lower to a gentle simmer, half cover, and cook for 20 to 25 minutes, until the cubes fall apart when pressed with a spoon.
To finish, either way
- Take the pot off the heat and let it stand for a few minutes. Blend until completely smooth with a stick blender, or in batches in a countertop blender. Hot soup expands in a blender, so fill it no more than half full, hold the lid down with a folded towel and start on low.
- Thin it with hot stock or water until it pours the way you like.
- Add the lemon juice or vinegar, then taste and season. Add the acid first and the salt second; you will need less salt.
Squash is sweet. The soup is only finished when something sharp has met it.
Variations for a vegan butternut squash soup
- With white beans. Add a drained 15-ounce (about 425 g) can of cannellini beans with the stock and blend them in. The soup becomes thicker, creamier and more filling, and has some protein.
- With red lentils. Add ½ cup (about 100 g) rinsed red lentils with the stock and an extra cup of water, and simmer until they collapse, about 20 minutes. They vanish into the soup.
- Warmer. Swap the ginger for a teaspoon of curry powder and finish with lime instead of lemon.
- Richer. Blend in a tablespoon of tahini at the end. It gives the body people expect from cream.
Toppings that make it
A smooth soup wants something with crunch or sharpness on top.
- Toasted squash seeds or pumpkin seeds
- A swirl of tahini thinned with lemon
- A spoon of plain unsweetened plant yogurt
- Chopped parsley, chives or fried sage leaves
- Black pepper and a few chili flakes
If it tastes flat, thin or stringy
- Flat? It almost always needs acid before salt. Add more lemon or vinegar, a little at a time.
- Too thick? Add hot water or stock half a cup at a time. It thickens further as it sits, so leftovers usually need loosening.
- Too thin? Simmer it uncovered for ten minutes, or blend in some white beans.
- Stringy? It needs more blending. A countertop blender gives a smoother result than a stick blender.
Storing the squash and the soup
A whole butternut squash keeps well, which is part of its charm. Iowa State University Extension advises storing cured winter squash in a cool, dry, well-ventilated place at 50 to 55°F (10 to 13°C), and says properly cured and stored butternut keeps for 2 to 3 months.
The soup keeps well too. Cool it quickly, cover it and put it in the fridge, and eat it within a few days. It freezes well in portions; leave room at the top of the container for it to expand. Reheat it gently until it is steaming hot all the way through, with a splash of water.
A pot of soup made once and eaten through the week is a small habit, which is why it lasts. If you want help making habits like this stick, I wrote about it in how to build good habits. A warm bowl at an early dinner also makes it easier to close the kitchen for the evening, which I wrote about in how to stop eating at night.
A few questions people ask me
Do I have to peel butternut squash for soup? Not for the roasted route: roast it in its skin and scoop out the flesh. For the stovetop route, yes. If the squash is hard to cut, microwave it whole for two or three minutes, after pricking it, to soften the skin.
Can I use frozen butternut squash? Yes. Use the stovetop route, add it straight from frozen and simmer until soft. It is a good shortcut.
What goes with butternut squash soup? Whole-grain bread, a big green salad or a bowl of beans. For a heartier pot on another day, try my lentil soup.
Is butternut squash soup filling enough for a meal? On its own it is light. Blend in white beans or lentils, or serve it with bread and a salad. If you have a medical condition that affects what you eat, ask your doctor or a registered dietitian.
There is more from my kitchen under Whole food nutrition, and if you are just starting out, begin with how to go plant-based. For guided sessions across the whole method, see Lifetime Body by Design.
This article is general information and one person's experience. It is not medical or dietary advice. Please speak to your doctor or a registered dietitian before making significant changes to how you eat.
Carol Pocock is a wellness coach, yoga teacher and the author of Lifetime Body by Design. Guided sessions are at Lifetime Body by Design. More about Carol.